Sunyaka, Puraka, Rechaka and Kumbhaka Pranayama
Kumbhaka is part of the four-step process of Yoga breathwork. Most people see breathing as a two-step process, inhaling and exhaling. In Yoga, however, there is much more depth. For yogis, there are multiple dimensions to our breathing process. Increasing our awareness and the time to focus on each element helps us clear our minds and breathe properly. A Yogic Pranayama has four features:
- Puraka: Prolonged inhalation
- Kumbhaka: Holding of the inhaled air
- Rechaka: Prolonged exhalation
- Sunyaka: Suspending the breath after the air is exhaled and before the next inhalation begins.
Most yogic texts do not focus on Puraka as it is a natural process. Kumbhaka and Rechaka get more attention as they are part of the process that most forget to be conscious of. Breath retention gives us the pause we need to get ready for the breath exhalation. Typically, your exhalation should be twice the length of your inhalation. The Sanskrit term for suspension is Sunyaka – the pause between breaths. Sunyaka means Zero or nothing and represents the temporary void where you have surrendered your breath and can allow your mind and thoughts to flow with the universe.
What Is Kumbhaka Pranayama
Kumbhaka breathing is the state of suspended breath regardless of whether the retention is after an inhale or exhale. There are a few variations of this breathwork:
- Bahya Kumbhaka – holding your breath after exhaling and emptying the lungs.
- Antara Kumbhaka – holding your breath after inhalation and filling the lungs.
- Sahit Kumbhaka – holding your breath during the middle of exhalation or inhalation.
- Kevali Kumbhaka – complete cessation of the breath. This is an advanced stage of Kumbhaka.
It would be best to practice all versions of Kumbhaka Pranayamas with a professional yogi to ensure absolute safety.
Kumbhaka Pranayama Benefits
Patanjali – a sage in ancient India – believed that when the mind fluctuates between highs and lows, we go through depression and joy, and the pause between the breaths is where one can find space between thoughts. Kumbhaka breathwork allows you to control and truly harness your emotional and physical levels by utilizing this space. It is the gateway to the unconscious mind. By developing the suspension of the breath – Kumbhaka – a yogi can deepen their state, balance the mind, and increase healthy circulation to the organs.
Carbon Dioxide Kumbhaka Pranayamas
Breath retention is viewed as the most critical aspect of pranayama or yogic breathing techniques. While it’s a practice that takes time to learn, research shows taking pauses in your breath has several benefits in the medical world. Intermittent hypoxia – insufficient oxygen for short periods – increases neuroplasticity, stem cell production, enhanced nitric oxide production, increased EPO, and more. Brief states of hypoxia cause a rush of oxygen from the blood into the tissues supersaturating them. Think of it as an oxygen chamber used by medics to enhance athletes’ performance, recovery, and neuroplasticity. Nose breathing techniques, with pranayama with breath retentions, are necessary to produce a higher level of CO2 tolerance.
The more CO2 the body can deal with, the more significant amounts of released oxygen are free to drive energy and repair the body. So many of us have grown used to breathing through the mouth. This type of breathing takes in more oxygen than needed because we breathe more times through our mouths than our noses. Overbreathing does create more oxygen, which is good, but it also removes the CO2. And the goal here is to get our bodies familiar with storing significant CO2 levels. We need a healthy buildup of C02 so that oxygen in the tissues won’t be compromised. When there is too much oxygen in our blood, we tend to build up the acidity in our bodies, making us unbalanced and stressed.
Benefits of practicing Kumbhaka Pranayam
- It has a positive impact on intra-thoracic and intra-pulmonary air pressures.
- It increases our carbon dioxide levels (due to retention) and activates the respiratory center in our brains.
- It increases oxygenation, which improves our overall health and concentration.
- Reduces strain on the circulatory system.
Kumbhaka Pranayama Precaution
- It is best to empty your bowels before performing Bahya Pranayama.
- Practice 3 hours after a meal.
- Before performing bahya pranayama, you can warm up your lungs by doing rapid external breathing such as Kapalbhati Pranayama or Bhastrika Pranayama.
- It is best not to practice the Bandhas in this pranayama if you have high blood pressure, a form of heart disease, and cervical colitis.
- This pranayama focuses and creates pressure around the uterus and abdominal region. Pregnant women and those in their menstrual cycle should refrain from this type of practice.
How To Do Kumbhaka Pranayama
The following instructions are steps for Bahya Kumbhaka:
- Sit with your spine straight and upright.
- Keep your shoulders nice and firm with your head straight and ready to move up and down when instructed,
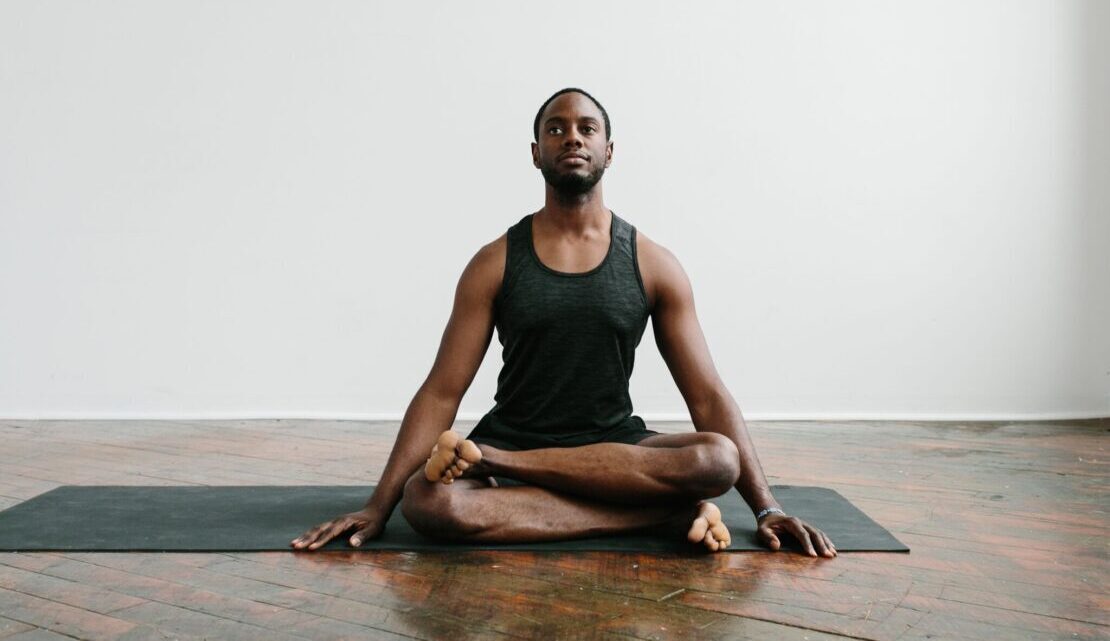
- Get yourself in the position of padmasana, sukhasana, or siddhasana and gently close your eyes.
- Take in a deep, forceful breath while bringing your head back slightly so that your chin is pointing towards the ceiling.
- With more intensity, exhale out, bring your chin back down toward your chest and hold your breath.
- At the end of your exhalation, hold your breath out and get ready to do 3 Bandhas.
- Contract your anus muscles and pull them upward. This is called the Root Lock or Mula Bandha.
- As you pull anus muscles up, you will feel space in your abdominal region. This is your abdominal muscles contracting and is called the Uddiyana Bandha.
- When you bring your chin upward or back down to the chest, you help avoid any possible oxygen leakage. This is called Jalandhar Bandha or Throat Lock.
- Hold all three body locks along with breath retention for a minimum of 5 seconds.
- The length of time between these three steps should stick to a ratio of 1:2:3; meaning, if you breathe in for 4 seconds, exhale for 8 and hold your breath for 16. Begin with a 1-second start. You can increase to 2 seconds and onward once you feel comfortable and trained.
- Repeat the process 3 or 4 times.


