Customize Consent Preferences

We use cookies to help you navigate efficiently and perform certain functions. You will find detailed information about all cookies under each consent category below.

The cookies that are categorized as "Necessary" are stored on your browser as they are essential for enabling the basic functionalities of the site. ... 

Always Active

Necessary cookies are required to enable the basic features of this site, such as providing secure log-in or adjusting your consent preferences. These cookies do not store any personally identifiable data.

No cookies to display.

Functional cookies help perform certain functionalities like sharing the content of the website on social media platforms, collecting feedback, and other third-party features.

No cookies to display.

Analytical cookies are used to understand how visitors interact with the website. These cookies help provide information on metrics such as the number of visitors, bounce rate, traffic source, etc.

No cookies to display.

Performance cookies are used to understand and analyze the key performance indexes of the website which helps in delivering a better user experience for the visitors.

No cookies to display.

Advertisement cookies are used to provide visitors with customized advertisements based on the pages you visited previously and to analyze the effectiveness of the ad campaigns.

No cookies to display.

Supine Spinal Twist Yoga Pose I - Supta Matsyendrasana

Supine Spinal Twist Yoga Pose I ( front) - Iana Varshavska

Contents

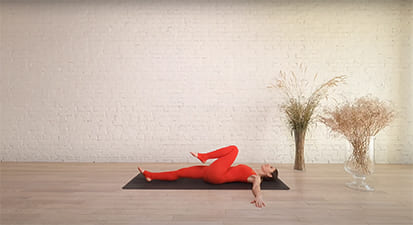
Supine Spinal Twist Yoga Pose I or Supta Matsyendrasana in Sanskrit (‘supta’ = ‘recline’, ‘matsya’ = ‘fish’, and ‘endra’ = ‘refers to Lord Indra the ruler’). The name Matsyendra, here refers to the lord of the fishes, and this pose depicts the pose Ardha Matsyendrasana in the supine version.

This pose is a great twist to the spine and the abdomen and hence is also referred to as the abdominal twist pose.

Supine Spinal Twist Yoga Pose I helps to stretch and release tension in the spine, hips, and lower back. It can be used both as a stand-alone pose and as compensation after backbends and core-strengthening yoga poses.

Pose Detail

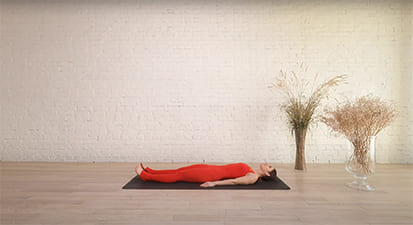
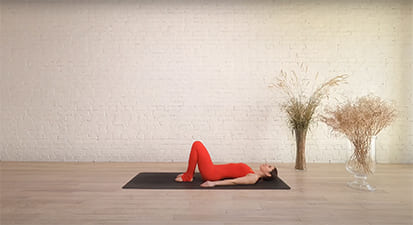
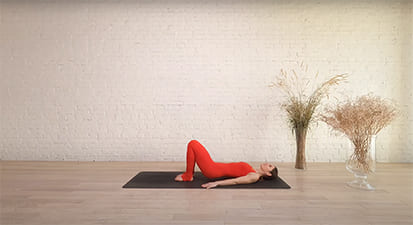
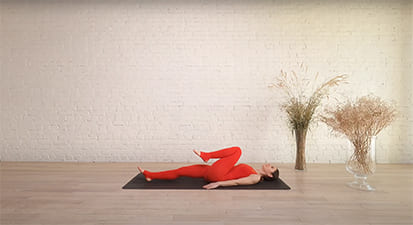
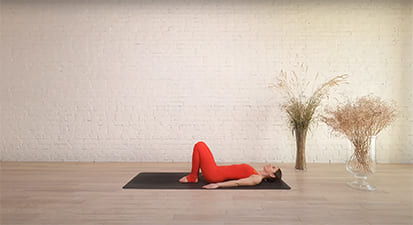
Step-by-Step Instructions

Step 1
Lie down on your back.
Step 2
Bend your knees and put the soles of your feet on the floor with your knees pointing up toward the ceiling.
Step 3
Press into your feet to lift your hips slightly off the floor and shift them about an inch to your right. This is an important step because it sets your hips up to stack one on top of the other when you move into the twist.
Step 4
Exhale and draw your right knee into your chest and extend your left leg flat on the floor. Keep your left foot actively flexed throughout the pose. Inhale.
Step 5
Open your right arm to the right, keeping it in line with your shoulders. Rest your left hand on your right knee or extend it to make a T shape with the arms. Turn your palms toward the ceiling.
Step 6
Exhale and cross your right knee over your midline to the floor on the left side of your body. Your right hip is now stacked on top of your left hip. You can hook your right foot behind your left knee if you like. On your exhalations, release your left knee and your right shoulder toward the floor. Turn your head to the right, bringing your gaze over your shoulder to your right fingertips. You can skip this step if it doesn't feel good on your neck.
Step 7
Hold the pose for five to 10 breaths. To come out of the pose, inhale and roll onto your back, drawing your right knee into your chest. Release both legs to the floor to neutralize your spine for several breaths before doing the other side.

Benefits and Contraindications

Benefits

Helps release the lower back

Opens tight shoulders

Elongates the supporting spinal muscles

Improves digestion

Quiets the mind

Contraindications

Recent or chronic injury to the knees, hips or back.

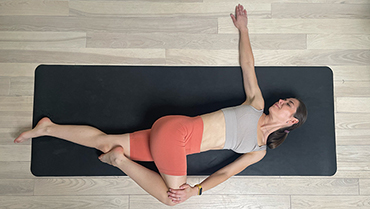
Photo poses in different angles

Tips

Avoid these errors when doing this pose.

  • Holding the Breath: You should breathe deeply and smoothly throughout this pose. Do not hold your breath.
  • Forcing Knee to the Floor: Do not force your knee to the floor. If reaching the floor does not feel accessible, bring your knee over only as much as you can comfortably. You might place a pillow under your knees and feet.

Frequently Asked Questions

Modifications & Variations

  • Supine Spinal Twist Pose II
  • Supine Spinal Twist with Bent Legs
  • Supine Spinal Twist Pose II Bolster Under Hips
  • Supine Spinal Twist Eagle Legs Pose

Iana Varshavska
Iana Varshavska
Website administrator

A digital marketer in love with yoga and everything that goes along with it. In 2021, her huge passion for yoga led her to yoga teacher trainings. After successfully completing her studies, Iana received her Yoga Alliance U.S. certification, left the corporate IT world and devoted herself to the development of Yanva. To be able to create the best online yoga space for yoga enthusiasts like her, Iana is constantly learning and improving her skills in various aspects of yoga philosophy, anatomy and biomechanics. Since 2021, she has continued to attend various types of teacher training, including yoga therapy, gives online and offline classes, and conducts local workshops for people who want to learn more about yoga. At the moment, Iana continues to work on her personal practice, improving her hand balancing skills, as well as developing her own training programs.